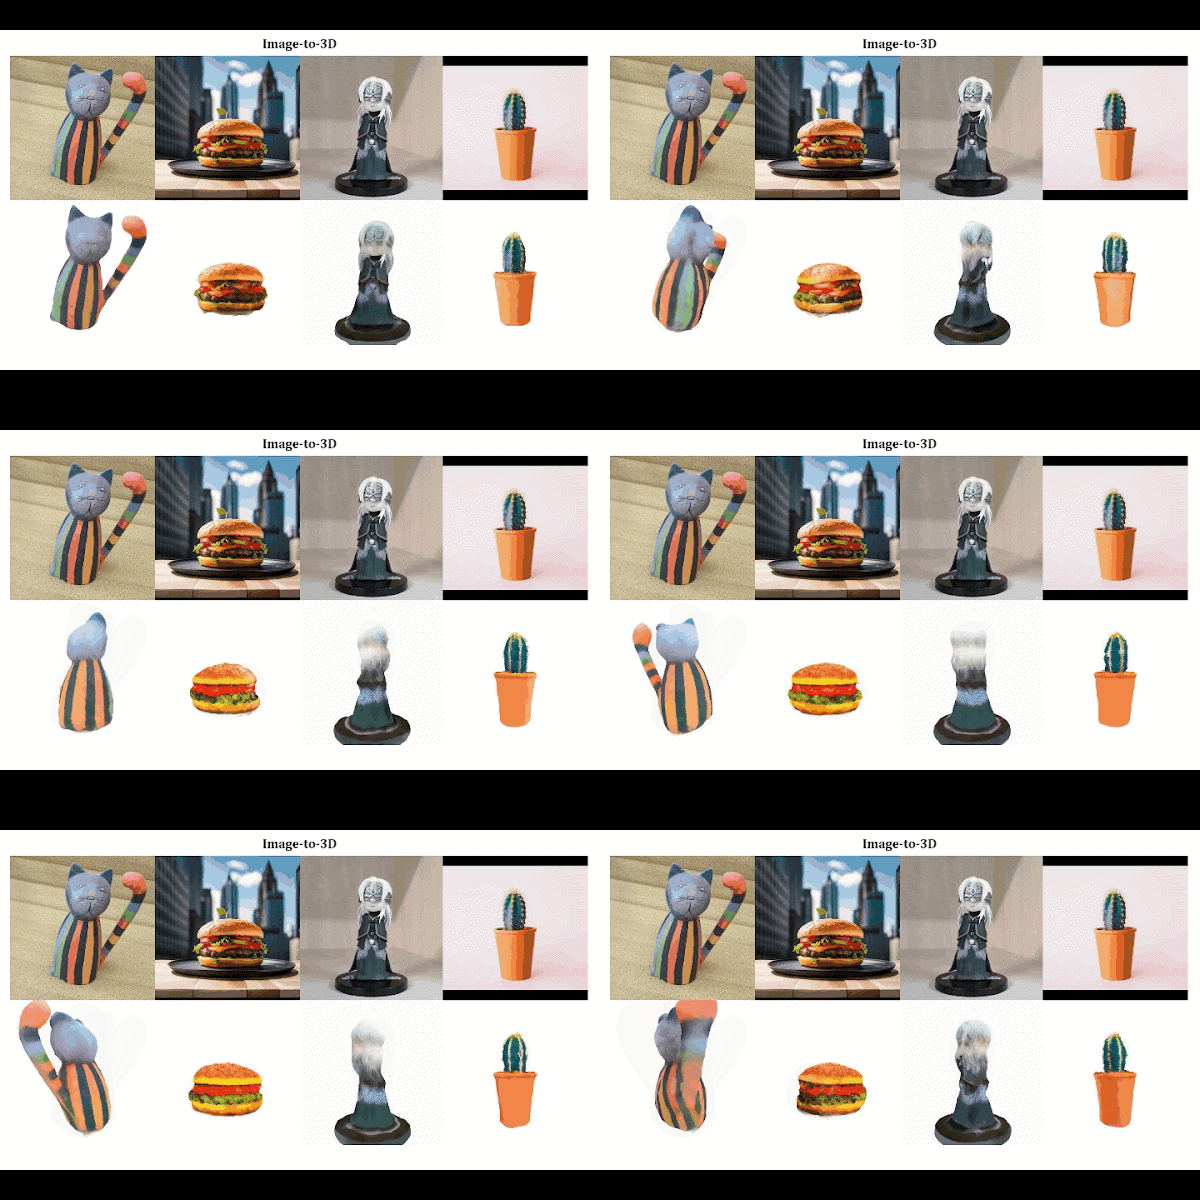
本記事では、Stable Dream Fusionと呼ばれる機械学習手法を用いてテキストから3Dデータを生成する方法をご紹介します。
Stable DreamFusion
概要
Stable DreamFusionは、拡散モデルを使用したテキストから3Dデータを生成するText to 3D技術です。
Stable Diffusionに代表されるように2022年頃からText to Imageタスクで大きなブレークスルーが起きています。
このアプローチをText to 3Dに適用するには、ラベル付けされた3Dデータの大規模なデータセットと、3Dデータのノイズを除去するための効率的なアーキテクチャが必要ですが、現在どちらも存在していません。
Stabel DreamFusionでは、Text to Imageタスクの拡散モデルを使用してText to 3Dを実行することにより、これらの制限を回避しています。
具体的には、Text to Imageタスクの拡散モデルを使用するためprobability density distillationに基づくlossを導入し、DeepDreamのようなプロセスでこの損失を使用し、ランダムな角度からの2Dレンダリングの損失が少なくなるように勾配降下を介して3Dモデルを最適化します。
この方式により、3Dデータのデータセットや、従来の拡散モデルの変更を必要とせず、Text to 3Dを実現しています。
詳細はこちらの論文をご参照ください。
本記事では上記手法を用いて、Text to 3Dを実行していきます。
デモ(Colaboratory)
それでは、実際に動かしながらText to 3Dを試していきます。
ソースコードは本記事にも記載していますが、下記のGitHubでも取得可能です。
GitHub - Colaboratory demo
また、下記から直接Google Colaboratoryで開くこともできます。

なお、このデモはPythonで実装しています。
Pythonの実装に不安がある方、Pythonを使った機械学習について詳しく勉強したい方は、以下の書籍やオンライン講座などがおすすめです。
環境セットアップ
それではセットアップしていきます。
Colaboratoryを開いたら下記を設定しGPUを使用するようにしてください。
「ランタイムのタイプを変更」→「ハードウェアアクセラレータ」をGPUに変更
初めにGithubからソースコードを取得します。
%cd /content

!git clone https://github.com/ashawkey/stable-dreamfusion.git

%cd /content/stable-dreamfusion
# Commits on Apr 23, 2023
!git checkout 4171f00c8d1721bb4645bad902b8b4d6fae3cef5
次にライブラリをインストールします。
%cd /content/stable-dreamfusion

# install requirements
! pip install -r requirements.txt
! pip install 'git+https://github.com/NVlabs/nvdiffrast/@335cfa6b33d785730a04283994214bed57884e87'

# install CUDA extensions (takes about 8 minutes!)
! pip install ./raymarching
! pip install ./shencoder
! pip install ./freqencoder
! pip install ./gridencoder

# install moviepy
!pip install moviepy imageio==2.4.1
最後にライブラリをインポートします。
import os
import glob

import torch
torch.cuda.empty_cache()

from moviepy.video.fx.resize import resize
from moviepy.editor import VideoFileClip
以上で環境セットアップは完了です。
プロンプトのセットアップ
ここでは、トレーニングに用いるテキストプロンプトなどを設定していきます。
Prompt_text = "a DSLR photo of a delicious banana" #@param {type: 'string'}
Training_iters = 5000 #@param {type: 'integer'}
Learning_rate = 1e-3 #@param {type: 'number'}
Training_nerf_resolution = 64  #@param {type: 'integer'}
# CUDA_ray = True #@param {type: 'boolean'}
# View_dependent_prompt = True #@param {type: 'boolean'}
# FP16 = True #@param {type: 'boolean'}
Seed = 12 #@param {type: 'integer'}
Lambda_entropy = 1e-4 #@param {type: 'number'}
Max_steps = 512 #@param {type: 'number'}
Checkpoint = 'latest' #@param {type: 'string'}

#@markdown ---

Workspace = "trial" #@param{type: 'string'}
# Save_mesh = True #@param {type: 'boolean'}
Workspace_test = "trial" #@param{type: 'string'}

# processings
Prompt_text = "'" + Prompt_text + "'"
トレーニング
それでは、先ほど設定したプロンプトなどに従いモデルをトレーニングします。
%cd /content/stable-dreamfusion

!python main.py \
  -O \
  --text {Prompt_text} \
  --workspace {Workspace} \
  --iters {Training_iters} \
  --lr {Learning_rate} \
  --w {Training_nerf_resolution} \
  --h {Training_nerf_resolution} \
  --seed {Seed} \
  --lambda_entropy {Lambda_entropy} \
  --ckpt {Checkpoint} \
  --save_mesh \
  --max_steps {Max_steps}
テスト
トレーニングしたモデルを用いて3Dデータをレンダリングしていきます。
%cd /content/stable-dreamfusion

!python main.py \
  -O \
  --test \
  --workspace {Workspace_test} \
  --save_mesh
出力結果は以下の通りです。
def get_latest_file(path):
  dir_list = glob.glob(path)
  dir_list.sort(key=lambda x: os.path.getmtime(x))
  return dir_list[-1]

rgb_video = get_latest_file(os.path.join(Workspace, 'results', '*_rgb.mp4'))

# show video
clip = VideoFileClip(rgb_video)
clip = resize(clip, height=420)
clip.ipython_display()
やや不鮮明ですが、テキストプロンプトに応じた3Dデータがレンダリングされました
まとめ
本記事では、Stable DreamDusionを用いたText to 3Dを方法をご紹介しました。
また本記事では、機械学習を動かすことにフォーカスしてご紹介しました。
もう少し学術的に体系立てて学びたいという方には以下の書籍などがお勧めです。ぜひご一読下さい。
リンク
リンク
また動かせるだけから理解して応用できるエンジニアの足掛かりに下記のUdemyなどもお勧めです。
参考文献
1.
論文 - DreamFusion: Text-to-3D using 2D Diffusion
2. GitHub - ashawkey/stable-dreamfusion


0 件のコメント :
コメントを投稿